Online Beginners & Intermediate Microbit Courses
- Sep 6, 2018
- 5 min read

Hey guys, so, a couple of weeks ago, I have went onto the various social media platforms to share about two upcoming online stem courses that will focus entirely on the micro:bit development board. But before I actually share a bit more about each of those courses, I want to take a quick moment here to do a shoutout and thank two companies that have so far agreed to partner with us to help provide kits and parts that are related to micro:bit itself. What that means is that during both courses, you will be seeing a lot of interesting projects and ideas that you can build using the micro:bit board. But more than that, my goal and hope is that I will also be able to showcase some outside-the-box type of project ideas with you. And I will also use those opportunities to share some tips and advice on how you can actually implement those projects in your own home or backyard (if you have one).
Elecfreaks
Elecfreaks was the very first company/brand that really partnered with us and thanks to them, they also provided 3 micro:bit related kits to us. Over the past few months, you might have seen me sharing videos and post about them on social media as well. Why do I want to mention them?
Well, that's because we will be using one of their kits during one of the courses that's started tomorrow - "Blocks with Micro:bit".

What you notice in the photo above is the Micro:bit Starter Kit by Elecfreaks. They have two versions, one with the micro:bit included, another one without. Below are the links so that you can visit those pages and order one for yourself.
Without micro:bit - https://www.elecfreaks.com/estore/elecfreaks-micro-bit-starter-kit-without-micro-bit-board.html
We will be using some of this kit's items for both stem courses, especially at the beginning of the course itself. So I would strongly recommend that you get your hands on this kit in order to follow along with the sessions themselves.
I always believe that you can learn better by actually doing. And while you are doing and following along, you can also ask questions (any questions). In my online course, there are no such thing as dumb questions. And if I was busy explaining something and can't reply, I am sure there's someone else watching who might know the answer too. So be sure to maximise the learning experience as best as you can.
Next, Kitronik
During a recent online research, I discovered that I haven't actually used the Inventor's Kit by Kitronik before, so being curious, I decided to reach out to the company. As it turns out, they happily agreed to send me this kit. I already had the initial intentions of using some of the kit's components for the upcoming online courses, but I wasn't sure about it at first.
So, doing something that I used to do, I decided to write a product review about their kit. If you are interested to read it, you can follow this link to a Facebook Page that I have created (not related to OLS) - https://www.facebook.com/notes/total-nerds-production/just-how-good-is-the-inventors-kit-for-bbc-microbit-by-kitronik/461735997658217/

I will be using the experiments and components from this kit to help with some of the online exercises that we are going to be doing together. My suggestion would also be to get this kit if you can. I will be using both the kits by Elecfreaks and Kitronik during the entire course because there are some differences in what is included in both kits.
Here's a link to the product page if you decide that you want to get it:
Time to Talk About the Online Courses
So, once you have both kits, it's time to know what the two courses are about. When I first had the inspiration for wanting to create an online stem course, I was thinking, "How can I do it in such a way that more people would actually get something out of it?" And then bingo, I decided that I was going to do both a "beginner level" as well as "intermediate level" courses.
Where learning programming, electronics and robotics is concern, there is always going to be a path of progression. You can't fly before you know how to walk and run. So that is what this is. I'm going to teach you everything that you can possibly or need to know about the micro:bit product and I am going to help you master it eventually.
Starting with the Basics - "Blocks with Micro:bit"
If you are really new to micro:bit, then this is really the best place for you to get started. This is especially true if you are much younger...like 30 years younger than me. Lol. But you should know that there is a really fun way of creating complex micro:bit projects without ever having the need to even write a line of programming code.

Once we are done with the basics, you can move on to the intermediate course. I will be running both online courses side-by-side, so if you are someone already with some micro:bit knowledge or some background in writing programming code, you can also watch both sessions each week.
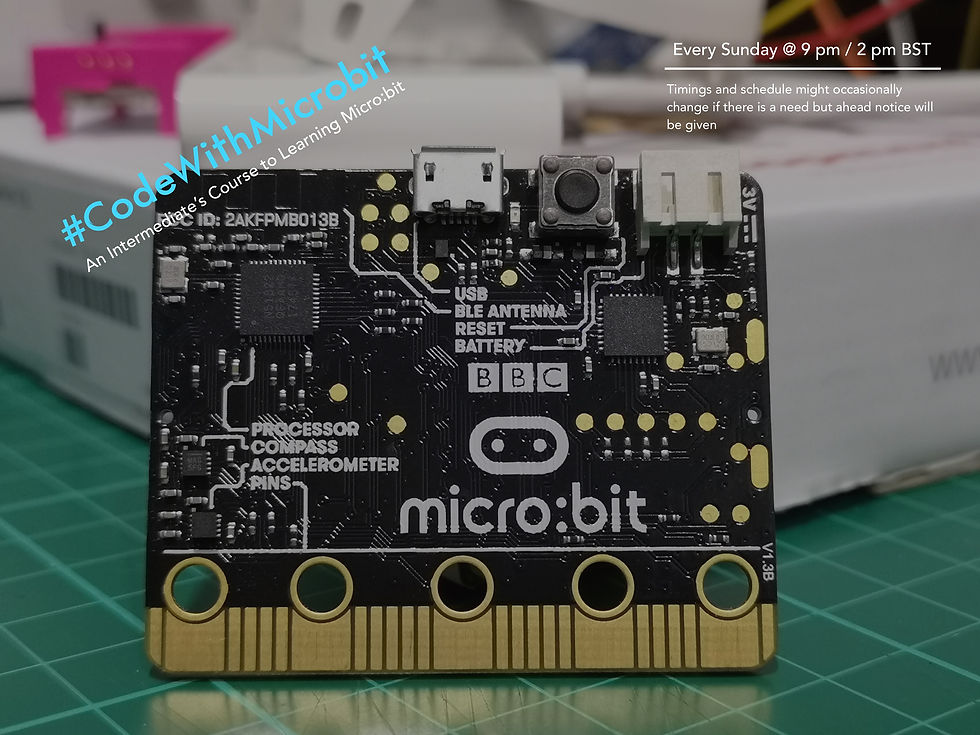
For the #BlocksWithMicrobit course, we will be kicking it off tomorrow, Friday, 7 Sep at 9pm SGT / 2pm BST. So make sure to consider what the timing might be in your own city's timezone.
Time for Some Solid Food - "Code with Micro:bit"
In this online course, I will make some assumptions about you. I would assume that you already know about micro:bit, you might have worked with the product before, or you actually have done some programming on your own previously. If your answer to all of those assumptions is No, I would not recommend that you start with this course. It might actually end up confusing you further.
In this course, we will be looking at MicroPython, which is really a subset (or derivative version) of the original Python programming language.
"Why MicroPython?", you might ask.
Well, speaking from my own experience as a industry practitioner and leader in the field, I have picked up many different programming languages through the years, and that includes Python.
Where micro:bit is concerned, there is also another approach you can consider, and that is using JavaScript from within the MakeCode interface. You can use that if you like, but I won't be focusing on that in this course.
"Why not?", again you might ask.
Why, because I believe that the JavaScript coding syntax is more complicated for someone who is still relatively new to either the board or programming. So in order to cater the course to those that have never done any programming before, I decided to go with MicroPython.

Just because MicroPython is the simpler alternative to JavaScript doesn't make it any less effective. In fact, MicroPython is being used in many other different Internet of Things (IoT) environments/products, like Raspberry Pi, some of the Python capable development boards (Pyboards) and finally, Circuit Playground by Adafruit.
I can honestly go on and on for hours on this, but this blog article is proving to become really long-winded, so I'm going to end right here.
The first session of this intermediate course is set to kick-off this coming Sunday, 9 Sep, at 9pm SGT / 2pm BST. So be sure to mark it down in your calendar (again, remember to factor in your own timezone differences).
Alright!! Wow, that feels like quite a handful to read. *wipes perspiration from forehead*
I hope you have found this blog article useful. And I look forward to sharing more with you during both online courses soon! Cheerios!


Comments